

Blogs & News
Crawl Space Vents: Ventilation and Moisture Control Guide
By Kelly Berkompas
Crawl Space Vents: The Complete Guide to Ventilation and Moisture Control
Crawl space vents are the openings set into your foundation walls that let air move through the unfinished space beneath your floor. Get them right and a crawl space vent keeps the area dry, keeps pests out, and protects the joists and ductwork overhead. Get them wrong and you invite crawl space moisture, rot, and the kind of musty air that works its way up into the rooms you actually live in. This guide covers how crawl space ventilation works, what the building code asks for, the open versus closed debate, and how the right vents handle moisture, pests, and fire in a single move.
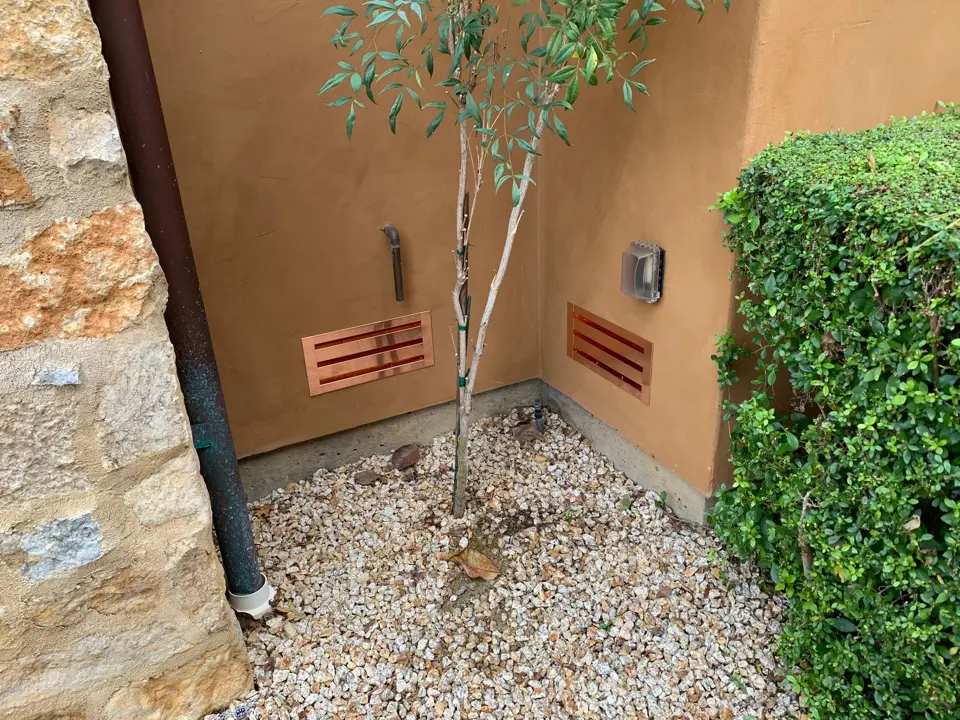
What Crawl Space Vents Actually Do
Air beneath a home behaves differently from the air upstairs. The ground gives off water vapor around the clock, plumbing lines sweat, and warm damp air drifts in from outside on humid days. Crawl space vents give that moisture-laden air a way out before it condenses on joists, subfloor, and insulation. Good airflow also keeps the space cooler through summer and slows the buildup of soil gases like radon.
There’s a second job that gets overlooked. A crawl space vent is a physical barrier as much as an air gap. The screen or baffle behind the opening decides what gets in, whether that’s a rodent, a wasp, or, in a wildfire zone, a wind-blown ember. So a single vent sits at the meeting point of moisture control, pest control, and fire safety.
Crawl Space Vents and the Building Code
Most of the country builds to the International Residential Code, and the IRC is specific about crawl space vents. Section R408.1 requires ventilation openings in the foundation or exterior walls of any under-floor space, sized at a minimum of 1 square foot of net free area for every 150 square feet of crawl space ground area. The code also asks for one opening within 3 feet of each corner of the building, so air crosses the whole space instead of pooling in dead corners.
That 1:150 ratio is the number to remember. On a 1,500 square foot footprint it works out to 10 square feet of net free vent area. Net free area is the catch: it’s the actual open area after screens and louvers are deducted, not the size of the rough opening, so a vent’s rated free area is always smaller than the hole it sits in.
There’s an important exception. Under Section R408.2, if you cover the ground with an approved Class I vapor retarder, the required area for your crawl space vents drops to 1 square foot per 1,500 square feet, a tenfold reduction. That single change is the doorway to the closed crawl space approach below, and it’s why so many crawl space moisture problems start with a missing or torn ground cover.
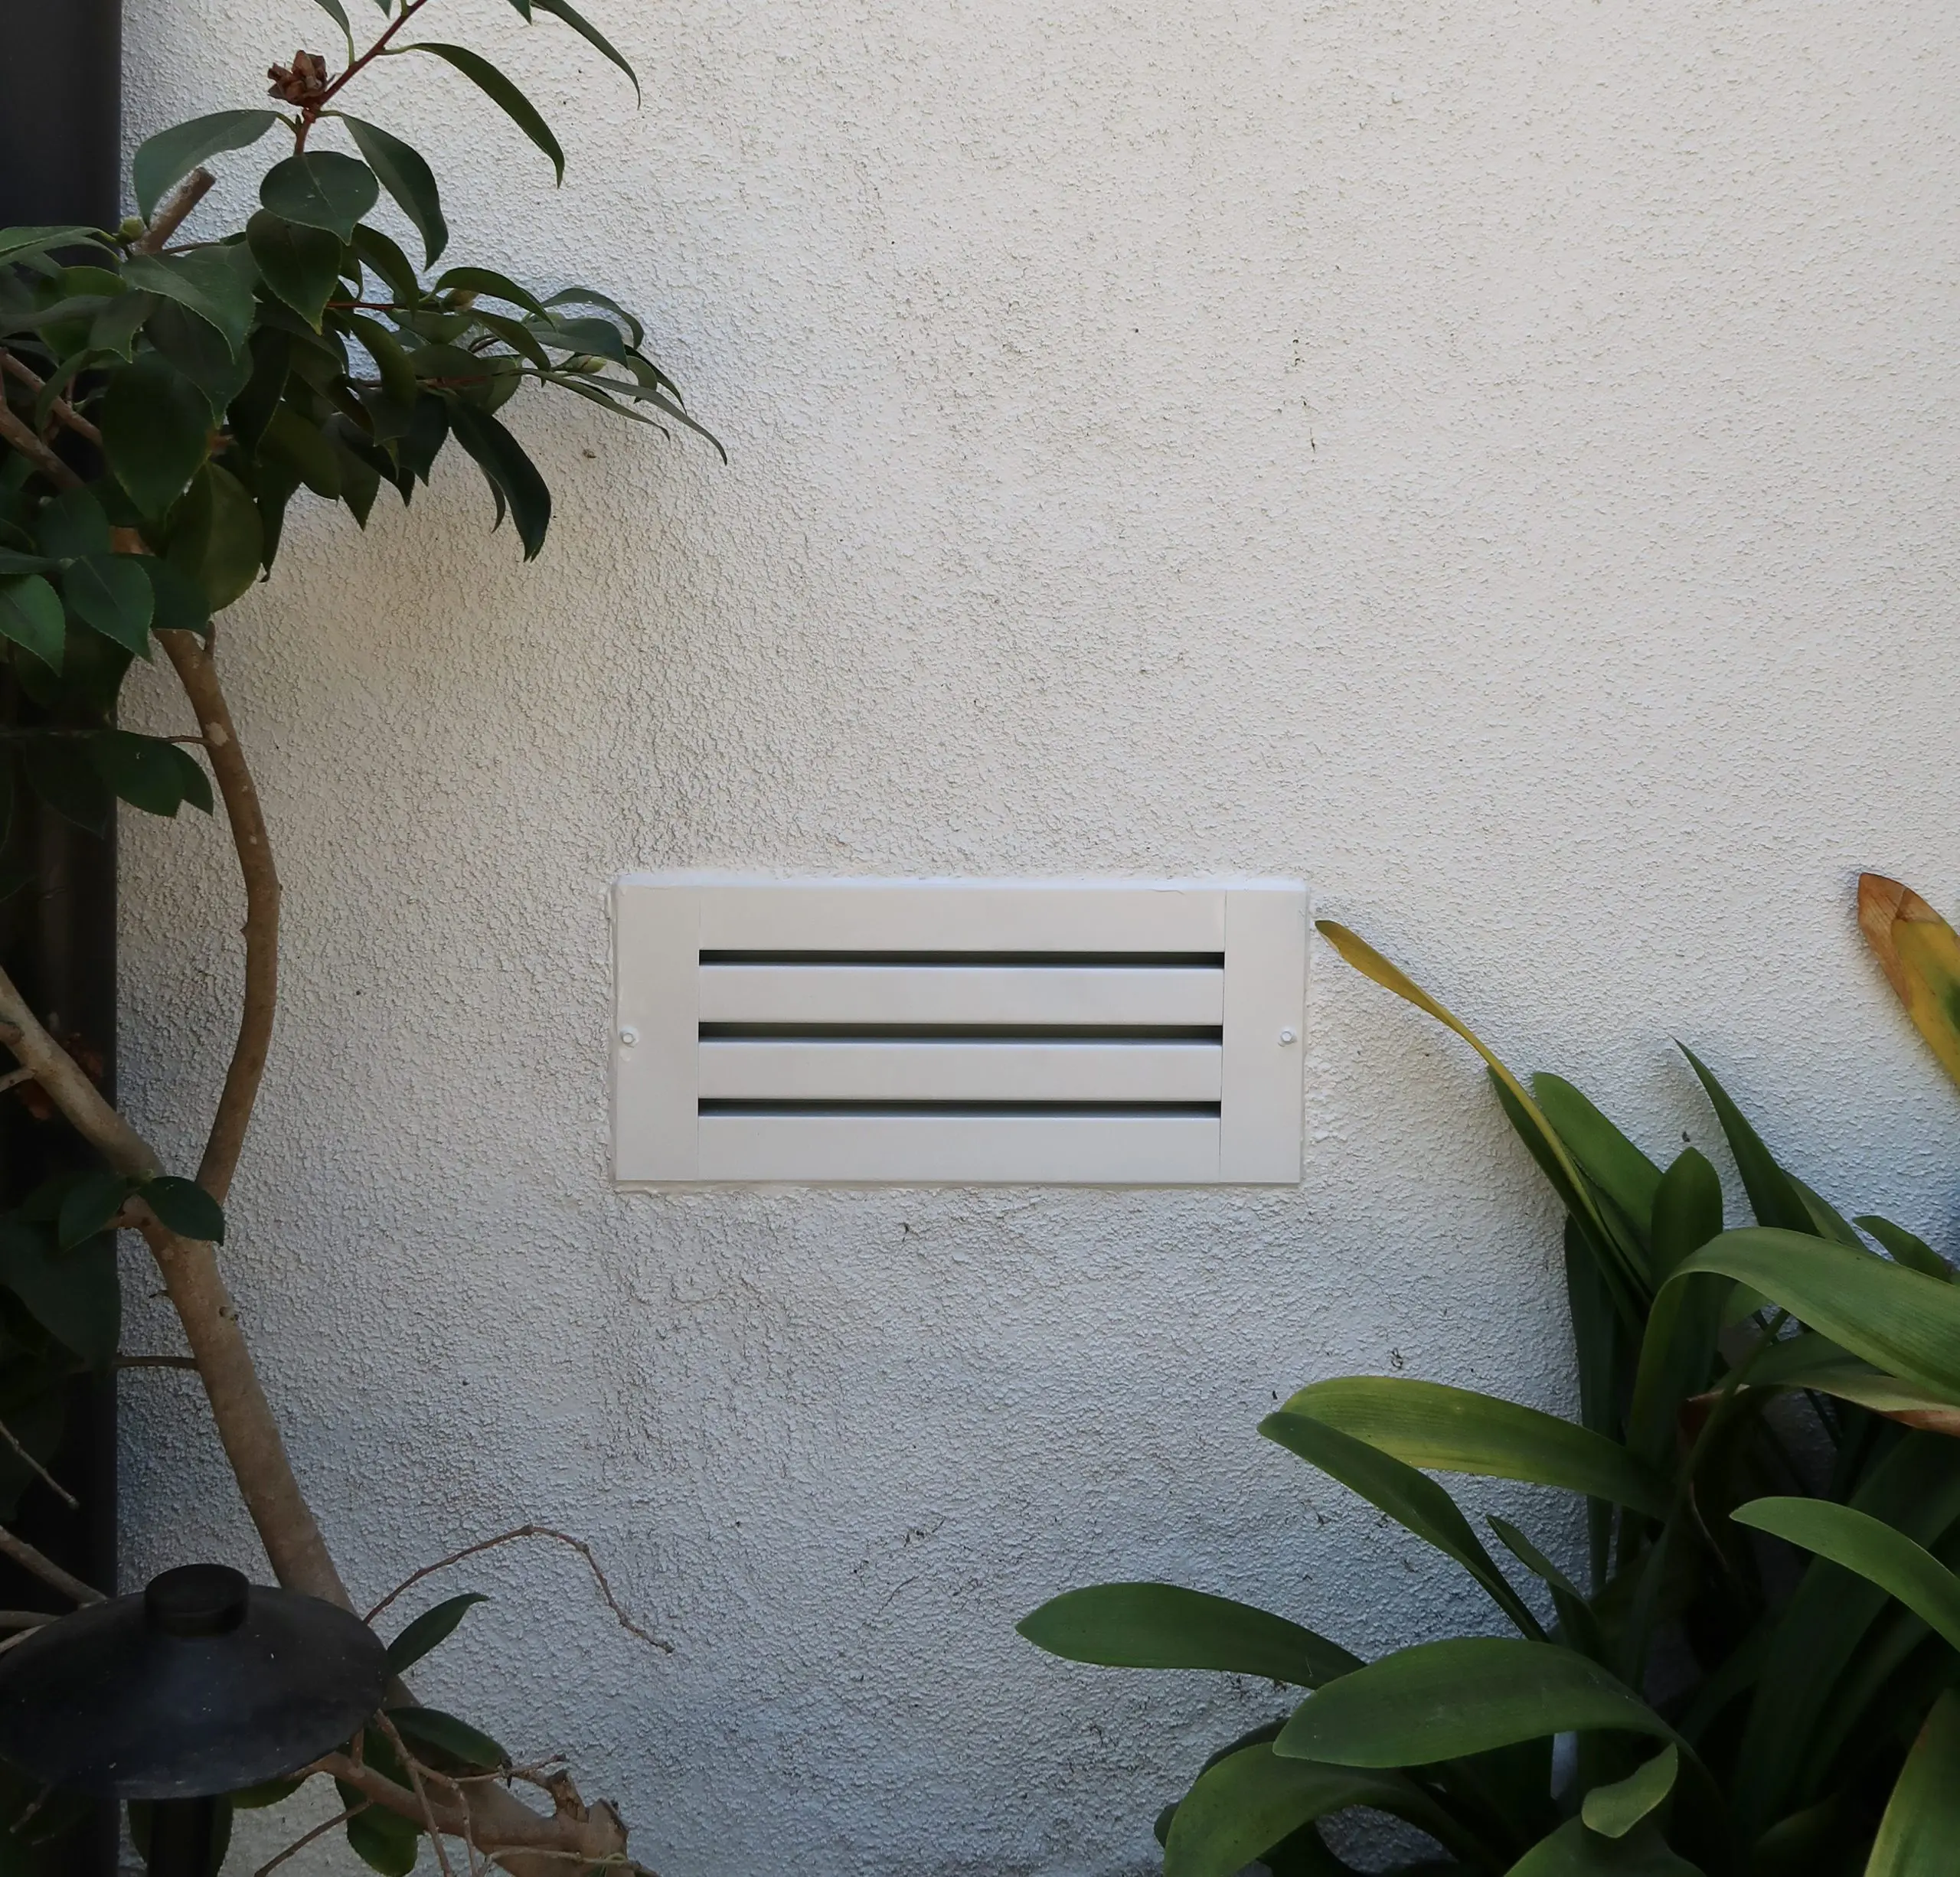
Open vs Closed Crawl Space: The Ventilation Debate
For decades the open, vented crawl space was the default, and the 1:150 rule was written around it. The thinking was simple: let outside air pass through and it will carry moisture away. In dry climates, that logic holds up well.
In hot, humid regions it can backfire. On a muggy summer day, warm outside air enters through the crawl space vents, meets the cooler surfaces under the floor, and condenses. Instead of drying the space, the vents feed it moisture. This is the case building scientists make for the closed, or encapsulated, crawl space: seal the vents, line the ground and walls with a heavy vapor barrier, and manage humidity with a dehumidifier or conditioned air.
Neither approach is universally right. A vented crawl space is cheaper, simpler, and code-friendly in the climates it suits. A closed crawl space controls crawl space moisture more tightly and can trim energy bills, but it costs more and depends on the seal staying intact. Climate zone, drainage, and budget decide the winner. Plenty of homes land in the middle, keeping the vents working while adding a ground cover to cut the required vent area and knock down humidity.

Seasonal Considerations
Crawl space ventilation isn’t a set-and-forget system, and the seasons pull it in opposite directions. Summer brings the condensation risk described above, when humid air meets cool surfaces. Winter brings the opposite worry: open crawl space vents let cold air chill the floor above and the plumbing running through the space, which raises heating bills and, in a cold snap, can freeze exposed pipes.
This tug-of-war is why manually operated or automatic vent covers became popular, opening in summer and closing in the coldest months. They’re a partial fix. Closing crawl space vents in winter helps with heat loss and frozen pipes, but seal them completely and any moisture already in the space has nowhere to go. If you close them seasonally, pair the move with a solid ground vapor barrier so you’re managing crawl space moisture rather than trapping it.
Crawl Space Moisture Problems and How to Control Them
Moisture is the root of nearly every crawl space complaint, so crawl space moisture control deserves its own plan rather than being left to airflow alone. Three sources do most of the damage.
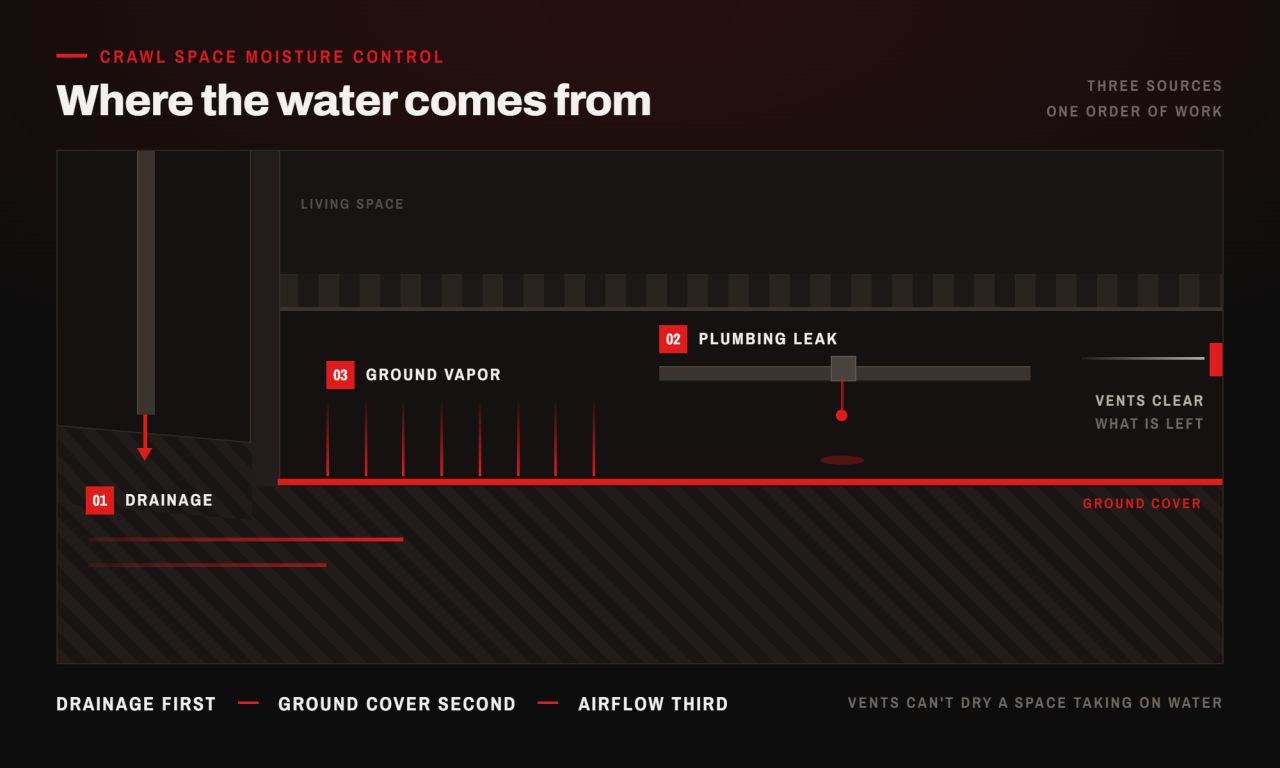
Ground moisture is the constant one. Bare soil wicks water upward and releases vapor day and night. A Class I vapor retarder laid over the entire floor, seams overlapped and taped, is the single most effective step you can take, and it’s what unlocks the reduced vent ratio in the code. Even over sealed ground, crawl space vents still need to clear the small amount of vapor that gets through.
Plumbing leaks are the hidden one. A weeping supply line or a dripping waste pipe can soak a crawl space for months before anyone notices, because nobody goes down there. A dry space with good airflow makes a slow leak far easier to spot before it turns into rot or mold.
Poor drainage is the outside one. Downspouts that dump against the foundation, grading that slopes toward the house, and a missing perimeter drain all push groundwater under the floor. Fixing the water outside is cheaper than fighting it inside, and it makes every other part of your crawl space moisture control work harder.
Crawl space vents remove the water vapor that’s left once these three sources are handled, but they can’t dry out a space that’s actively taking on water. Think of the order as drainage first, ground cover second, airflow third. Skip the first two and no amount of ventilation will keep the space dry, which is exactly why homeowners who rely on vents alone keep fighting the same damp, musty crawl space year after year. A watch for the early signs helps too: condensation on the vent screens, a sour smell at the access hatch, or cupping floorboards upstairs all point to crawl space moisture that the current setup isn’t clearing.
Pest Exclusion: Another Job for the Crawl Space Vent
An open hole in your foundation is an invitation. Rodents, snakes, birds, wasps, and termites all use crawl space vents as a way in, and once they’re under the floor they nest in insulation, chew wiring, and foul the space. A standard louvered vent with a torn or missing screen offers no real defense.
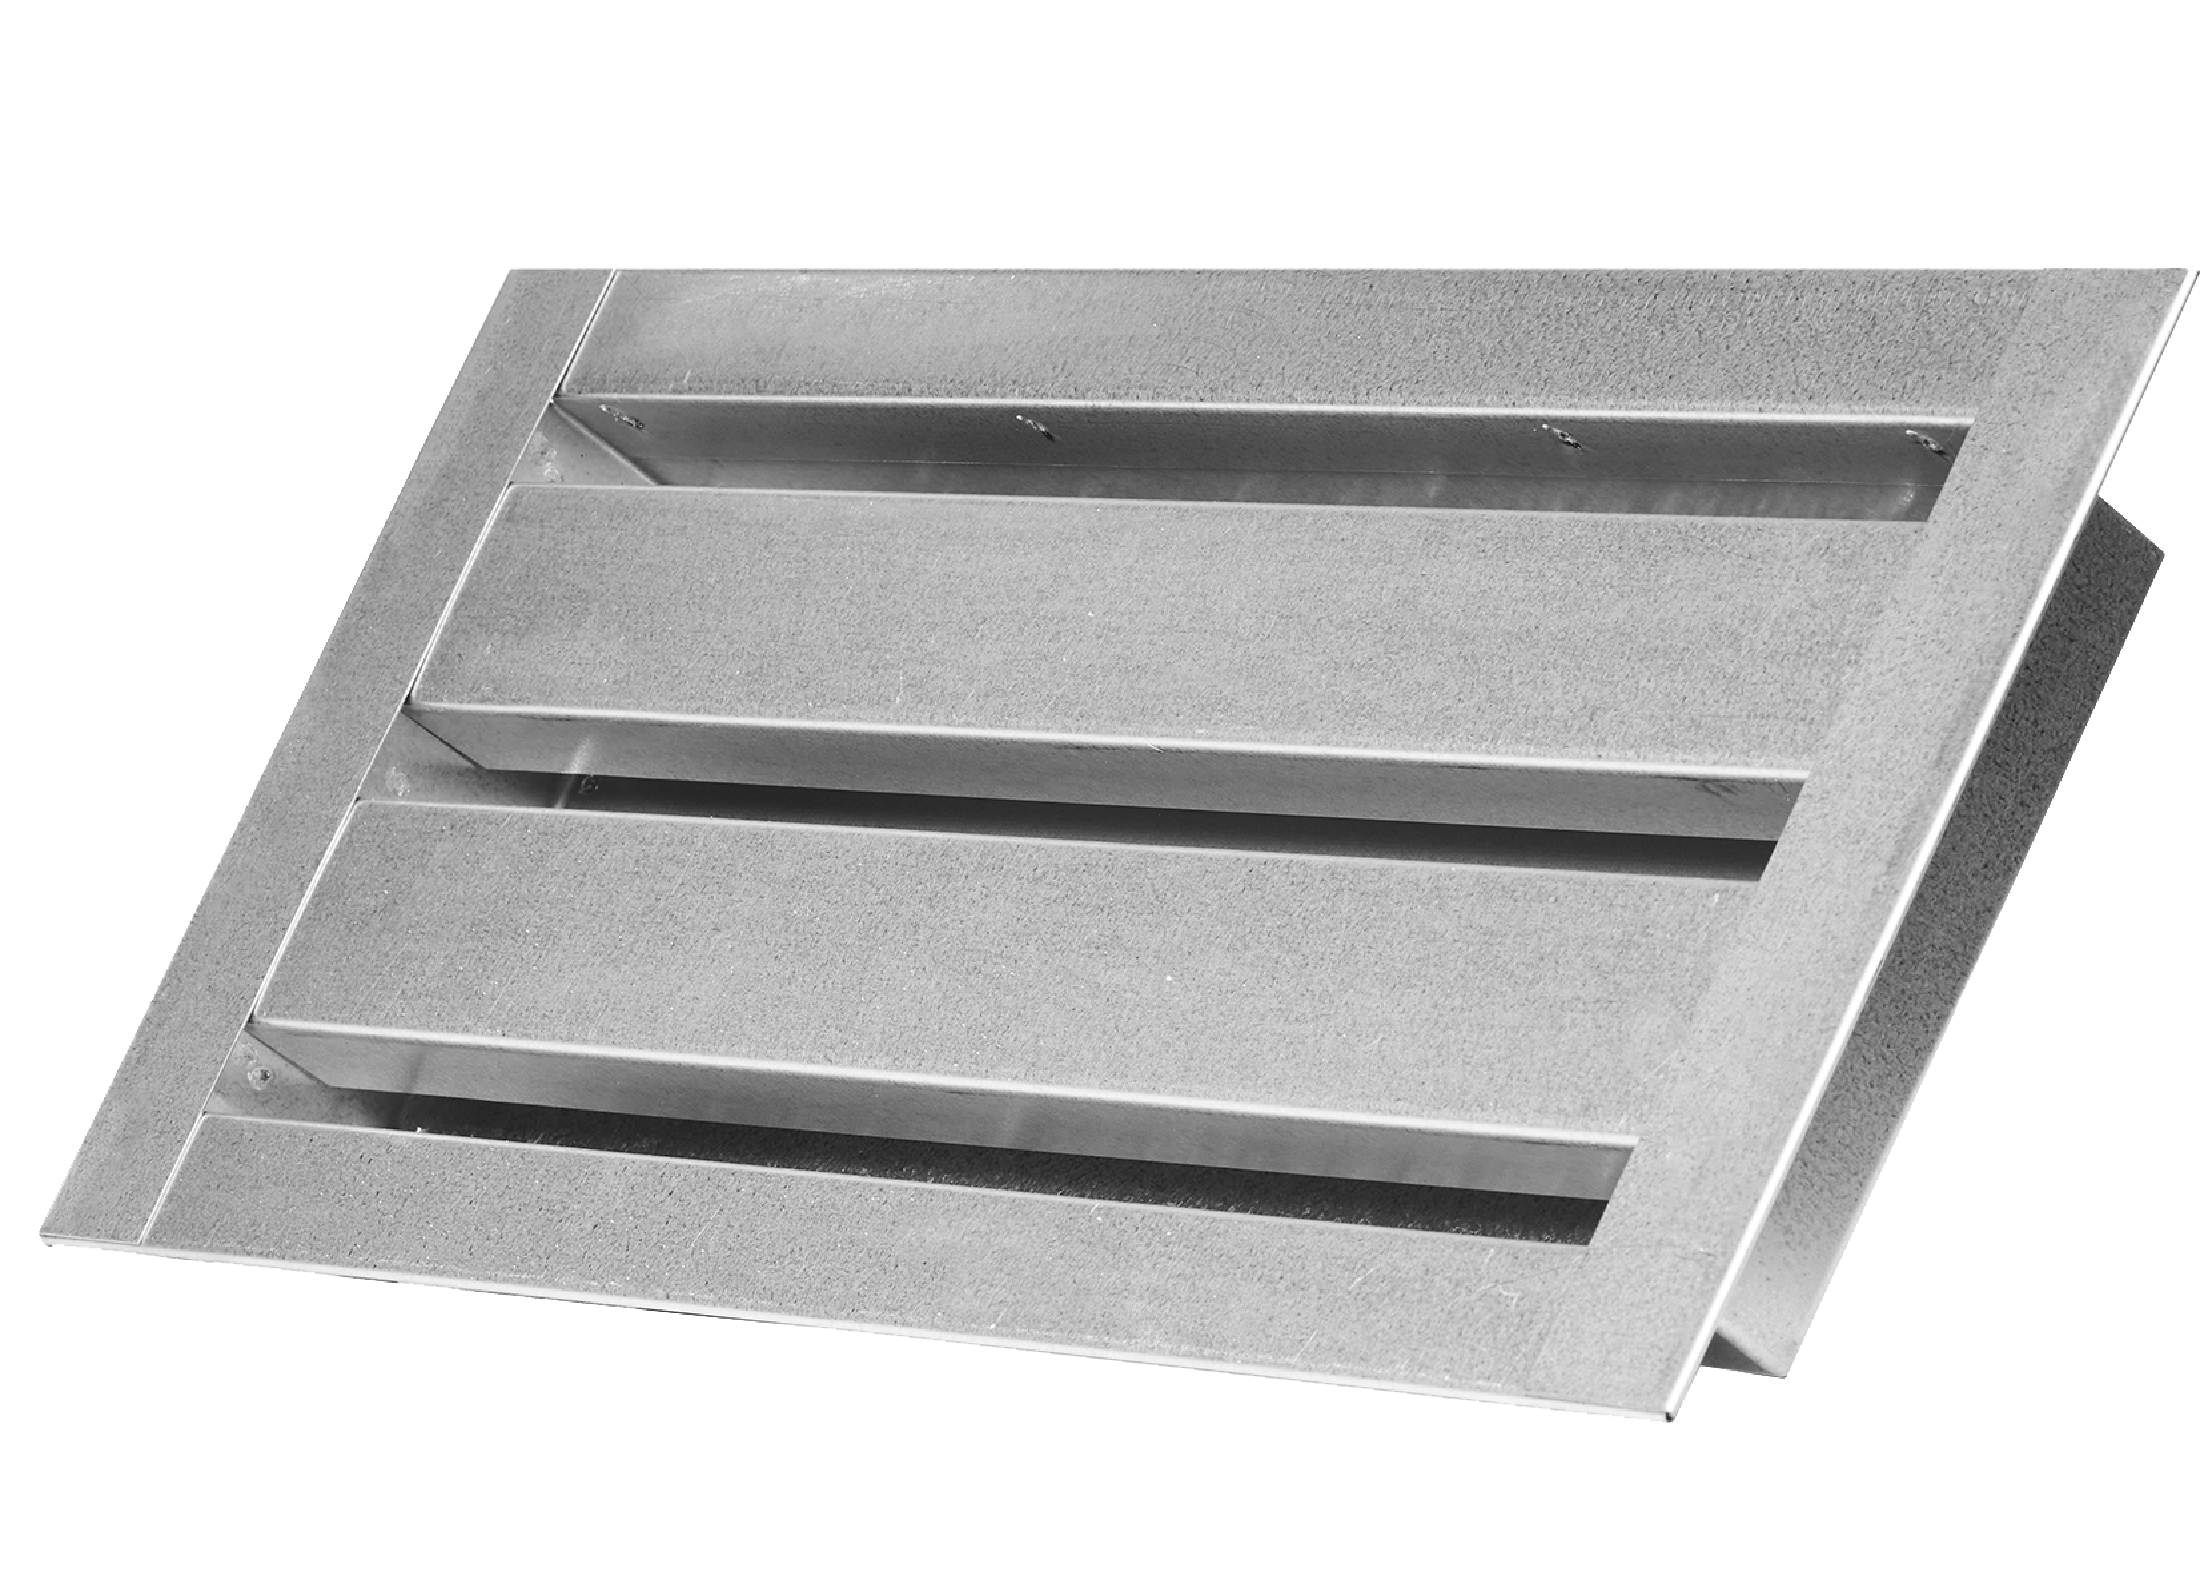
This is where the quality of the vent itself matters. A crawl space vent with a fine, non-corroding mesh or an overlapping baffle keeps the airflow the code wants while shutting the door on anything trying to crawl through. Rodents in particular can’t chew through steel mesh the way they gnaw through flimsy plastic or fiberglass screens, so upgrading the vents is one of the simplest pest exclusion steps a homeowner can take.
It proved that ember-resistant construction isn’t optional anymore, it’s essential.
How BrandGuard Foundation Vents Protect Against Fire While Keeping Airflow
In wildfire country the crawl space vent carries a risk most homeowners never think about. Wind-blown embers travel well ahead of a fire front and settle wherever they can find an opening. A vent leading to an unoccupied space full of dry timber and insulation is one of the most common ways a home ignites from the inside, long before flames reach the property. Standard crawl space vents, with their open louvers and thin plastic screens, do nothing to stop an ember at that point, and by the time the fire is visible outside it may already be smoldering under the floor.
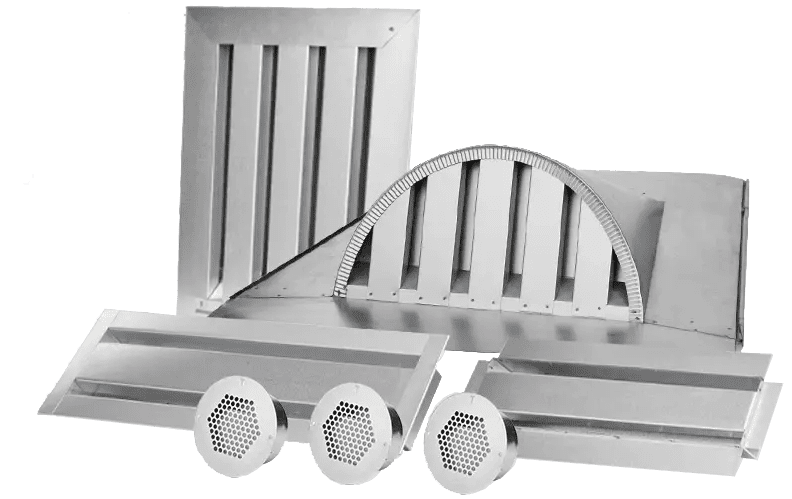
BrandGuard’s foundation vents are built to close that gap without choking the ventilation the code requires. They use a patented overlapping baffle backed by 1/16 inch steel mesh, so air still moves freely while embers are trapped and turned away. A self-closing intumescent strip sits dormant at normal temperatures and expands when it senses heat, sealing the vent completely as fire approaches. The vents are made from non-combustible 26 gauge steel that won’t ignite, warp, or buckle in direct flame, and they carry an ASTM E119 one-hour fire rating along with CAL FIRE listing and Chapter 7A compliance.
The same design that stops embers also handles the everyday jobs. The baffle blocks rodents, birds, and insects. For a home in a wildfire zone, ember-resistant crawl space vents turn a weak point into a defended one while still meeting ventilation code.
How to Size Your Crawl Space Vents
Sizing is arithmetic, and it starts with the 1:150 rule. Measure the length and width of the crawl space, multiply for the ground area in square feet, then divide by 150. That gives the total net free vent area you need in square feet. Multiply by 144 to convert to square inches, since vents are usually rated that way.
Take a 40 by 30 foot crawl space: 1,200 square feet divided by 150 is 8 square feet, or 1,152 square inches of net free area. If each vent provides 50 square inches of net free area, you need about 23 crawl space vents spread evenly around the perimeter, with one within 3 feet of every corner. Lay a ground vapor barrier and the R408.2 exception applies, cutting the requirement to 1:1,500, or about 0.8 square feet for the same space, a tenth of the vented figure. Always size on the manufacturer’s stated net free area, not the overall vent dimensions, because mesh and baffles reduce the opening.
Installation Tips
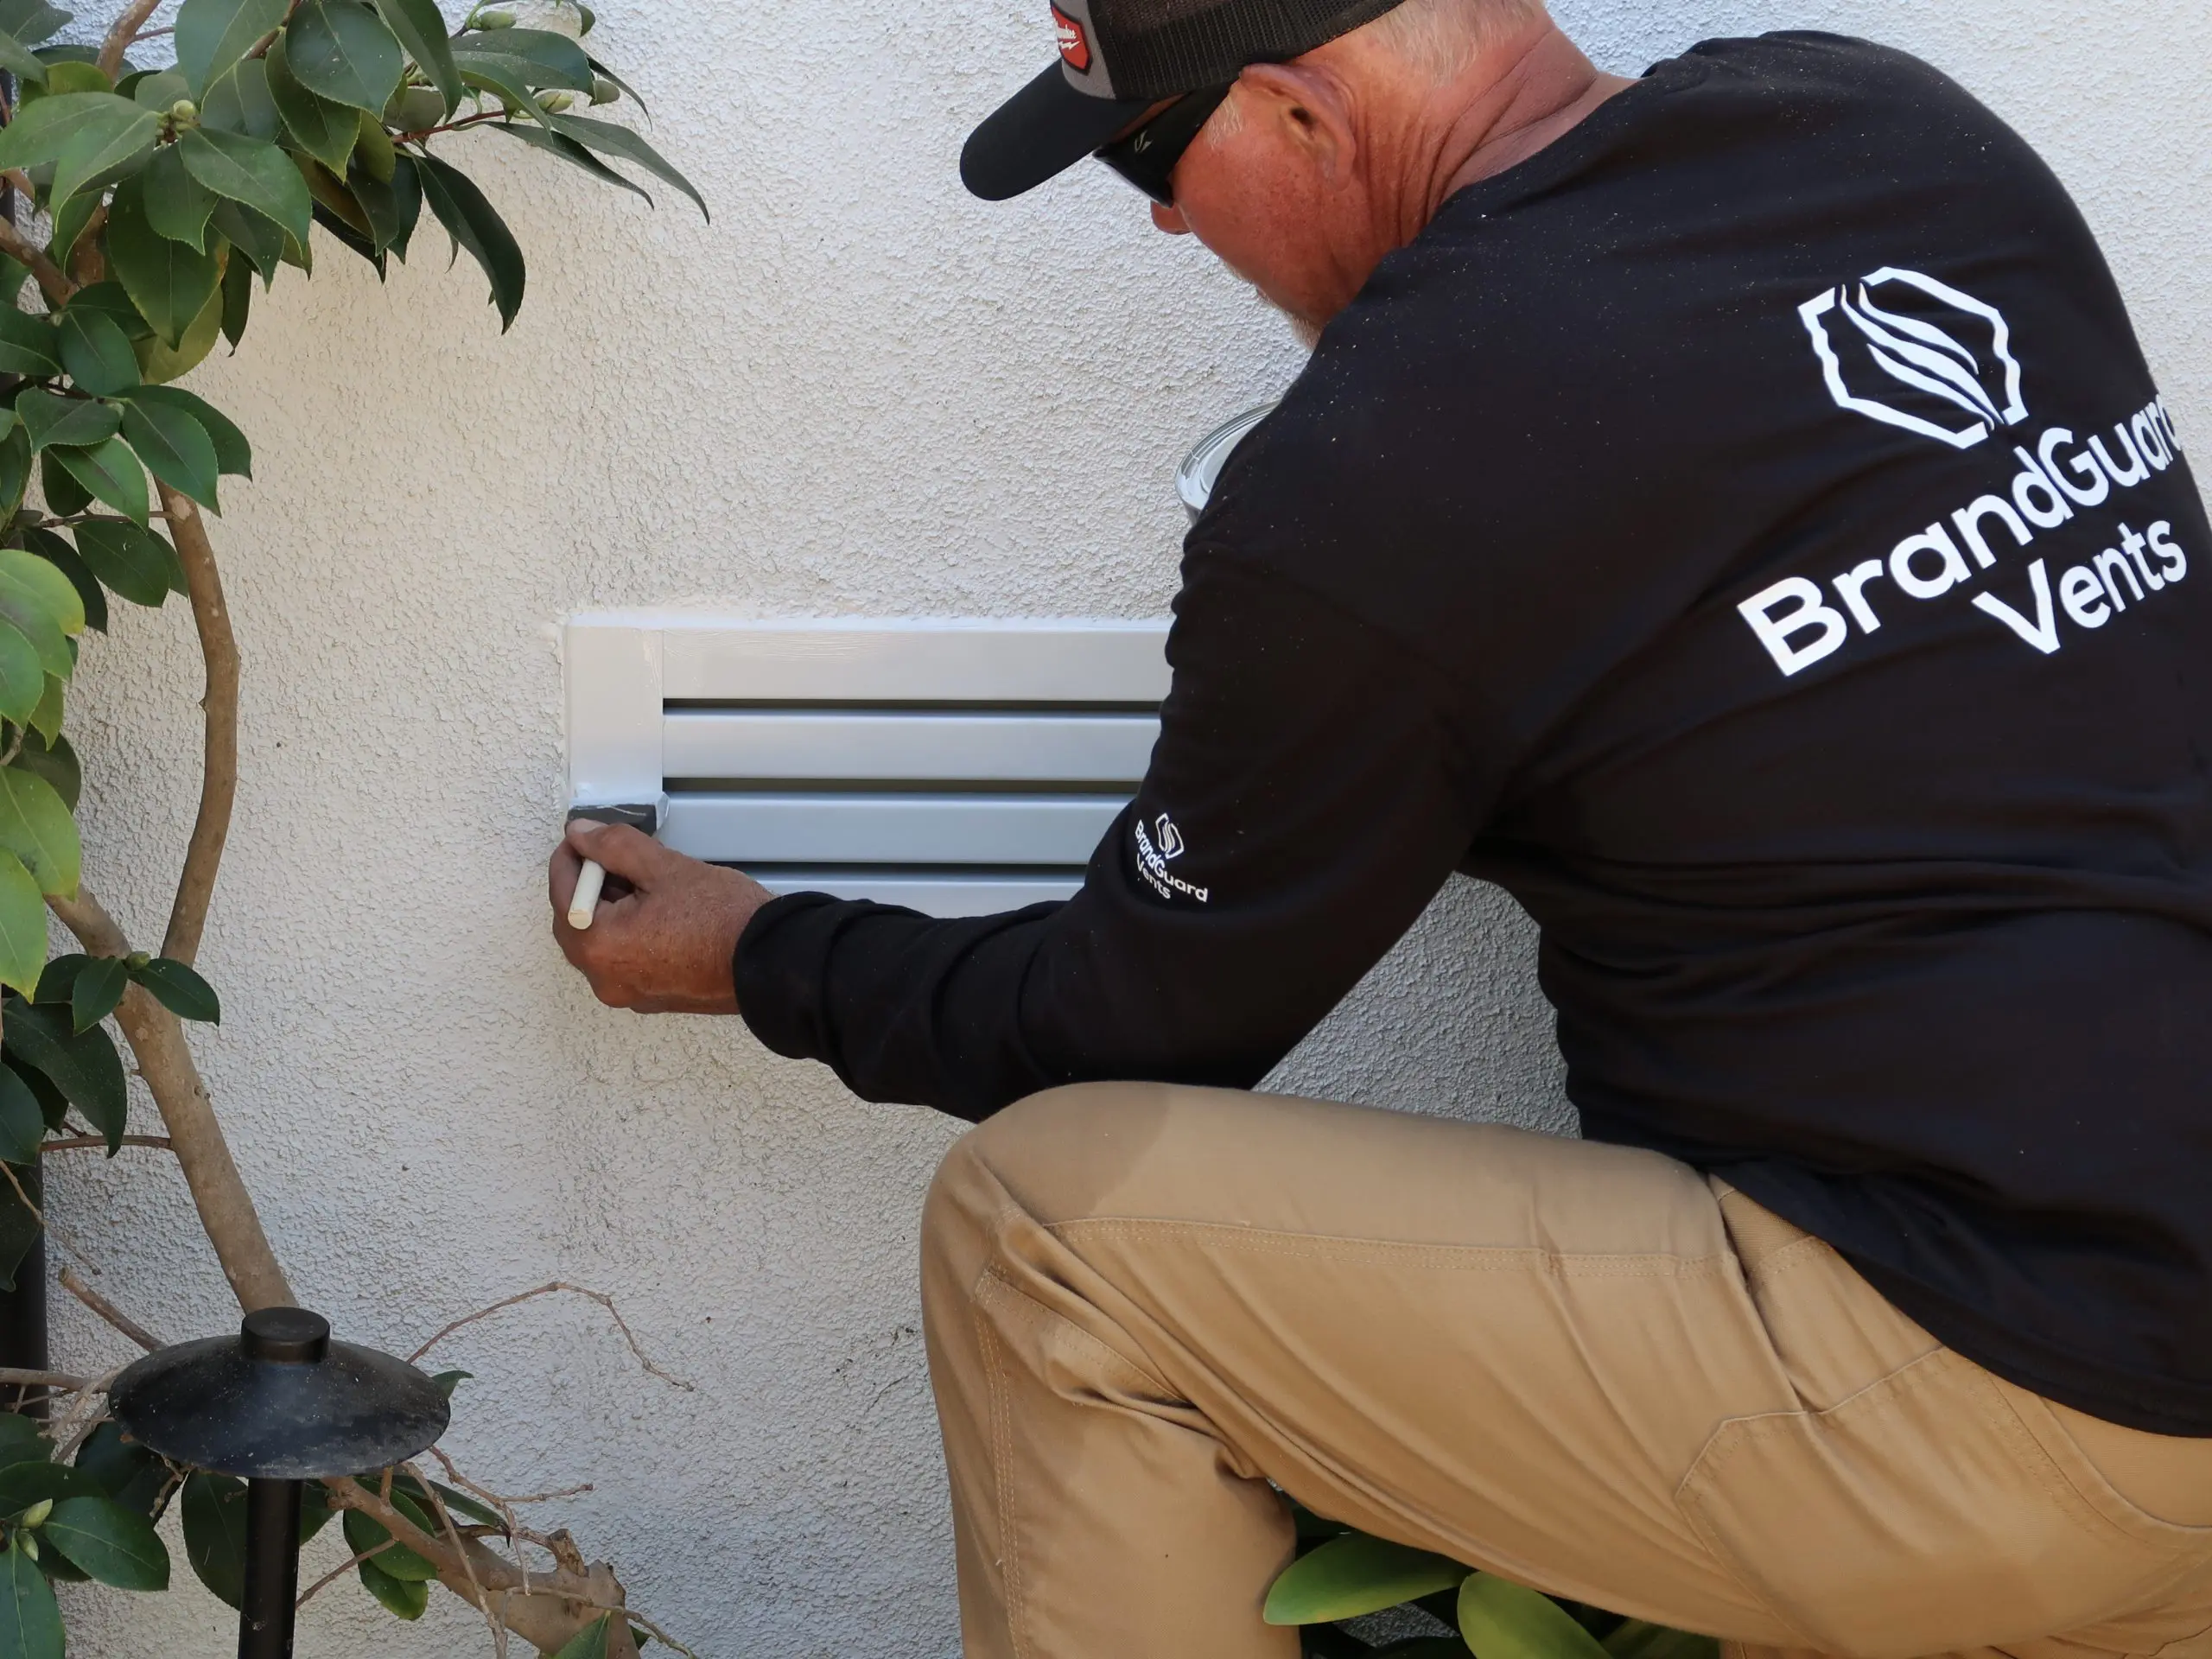
Spacing beats clustering. Spread the vents evenly and keep one near each corner so no part of the space sits in still air. For retrofits, most foundation vents are made to drop into a standard 8 by 16 inch masonry block opening, which makes replacing old, rusted, or damaged units straightforward.
Set the crawl space vents high in the foundation wall, close to the underside of the floor, so they draw air across the top of the space where warm moist air collects. Check that screens are intact and corrosion-resistant, seal around the frame so water can’t track in behind it, and clear any planting, mulch, or stored material blocking the vents from outside. Vents only work when air can actually reach them.


Cost Comparison: Ventilation vs Encapsulation
Budget usually decides the approach, so it helps to see the two side by side. Traditional ventilation is the low-cost route. Replacing foundation vents runs roughly $20 to $75 per vent for the unit, plus labor, and a full set of quality crawl space vents for an average home is a few hundred dollars. Add a ground vapor barrier, typically $1,200 to $4,500 installed for a mid-size space, and you have solid crawl space moisture control for well under the cost of a full system.
Full encapsulation sits at the other end. Sealing the vents, lining the walls, installing a heavy liner, and adding a dehumidifier averages around $5,500 nationally, and commonly lands between $3,000 and $15,000 depending on size, access, and how much repair the space needs. It buys tighter humidity control and can lower energy bills, but the payback is slow and the seal has to be maintained.
For many homeowners the practical answer is a hybrid: a proper ground cover for moisture, well-placed crawl space vents for code-compliant airflow, and, in a wildfire zone, ember-resistant foundation vents so the ventilation you’re required to have isn’t also your weakest point. It’s the least expensive way to cover moisture, pests, and fire at once
GET PREPARED TODAY
Ready to protect the crawl space beneath your home?
for airflow that meets code and defends against wildfire.
More information
Frequently Asked Questions
The essential questions, answered.
Should I close my crawl space vents in winter?
Closing crawl space vents in the coldest months cuts heat loss and helps protect pipes from freezing, but sealing them completely traps any moisture already under the floor. If you close them seasonally, pair the move with a ground vapor barrier so you’re managing crawl space moisture rather than locking it in. Vents with self-closing technology react to temperature and take the guesswork out.
What does the building code say about crawl space vents?
Most of the country builds to the International Residential Code. Section R408.1 requires ventilation openings in the foundation or exterior walls of any under-floor space, sized at 1 square foot per 150 square feet, with an opening near each corner. Always check your local amendments, since some jurisdictions adjust the rule.
Can crawl space vents protect against wildfire embers?
Standard vents cannot. Their open louvers let wind-blown embers into a space full of dry timber and insulation, which is one of the most common ways a home ignites from the inside. BrandGuard’s ember-resistant crawl space vents use a patented baffle backed by 1/16 inch mesh plus a self-closing
Do crawl space vents improve air quality?
They help. Moving air out of the crawl space slows the buildup of humidity and soil gases like radon that can otherwise rise into the living space through gaps in the floor. Pairing vents with a sealed ground cover gives the biggest improvement.
Is ventilation or encapsulation cheaper?
Ventilation is far cheaper up front. A ground vapor barrier runs about $1,200 to $4,500 installed, while full encapsulation averages around $5,500 and often lands between $3,000 and $15,000. Encapsulation buys tighter humidity control and can lower energy bills, but the payback is slow, so many homeowners use a hybrid of a ground cover plus well-placed crawl space vents.
Where should crawl space vents be placed?
Spread them evenly around the perimeter with one within 3 feet of each corner, so no area sits in dead air. Set them high in the foundation wall, near the underside of the floor where warm moist air collects, and keep plants, mulch, and stored items clear of the openings outside. If you want a hand sizing or placing them, BrandGuard offers an on-site estimate with no obligation.

Still have questions?
Talk to our experts for no-obligation advice and support.
Related Posts
-

The California FAIR Plan is the state’s insurer of last resort, and it is carrying more of California than at…
-

Independent third-party verification for both wildfire protection and one-hour fire-resistance-rated assemblies When specifying fire protection products, independent verification matters. It…
-
Crawl Space Vents: The Complete Guide to Ventilation and Moisture Control Crawl space vents are the openings set into your…
