
Technical Hub
Design, Plan & Specify with Confidence
Looking for installation guides, compliance documentation, or detailed product specs? You’re in the right place. Select a product below to access CAD files, testing certifications, performance data, and more.

Soffit Vents
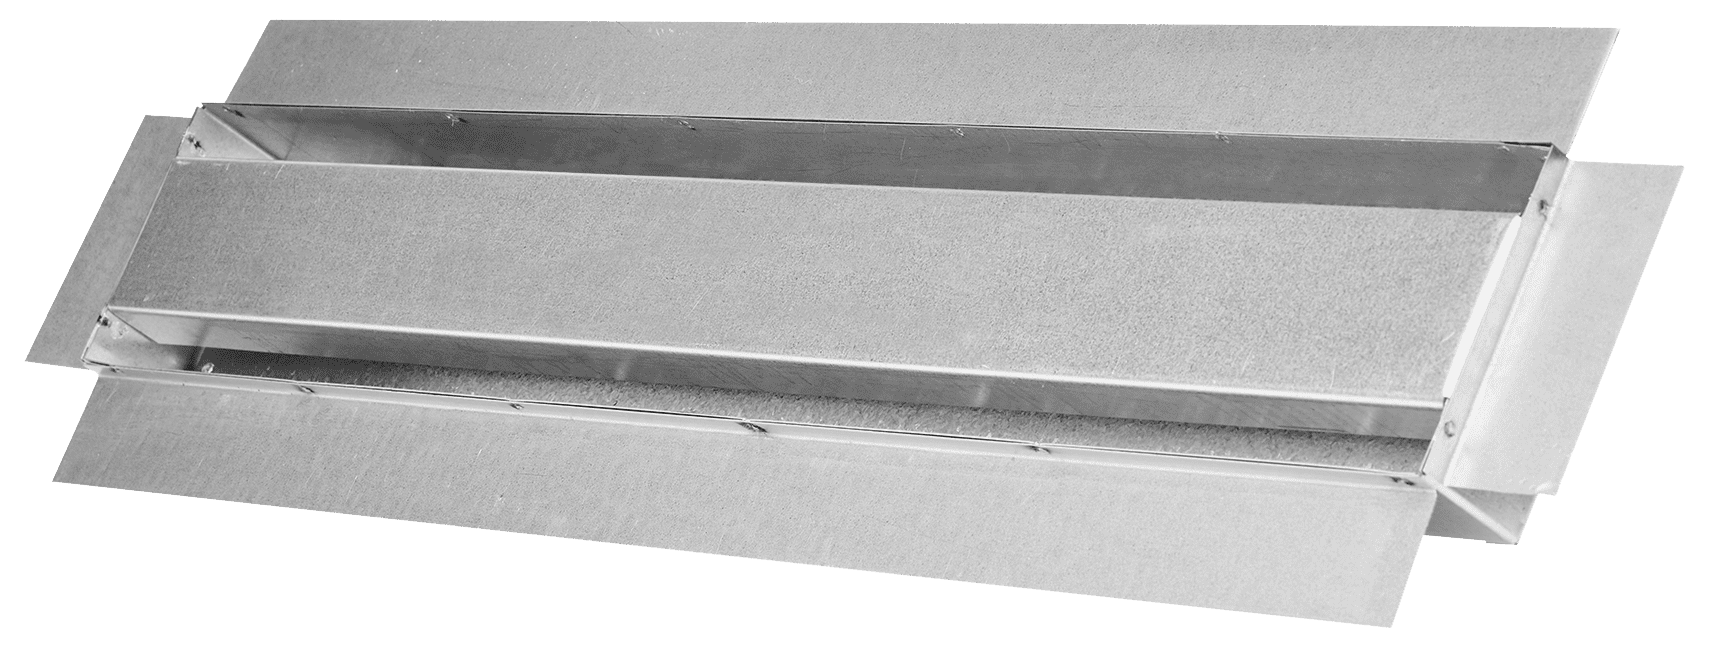
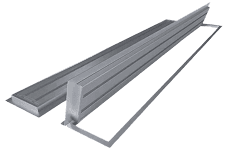
Continuous Vents
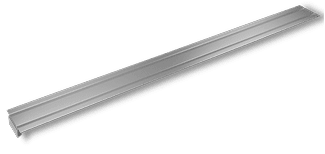
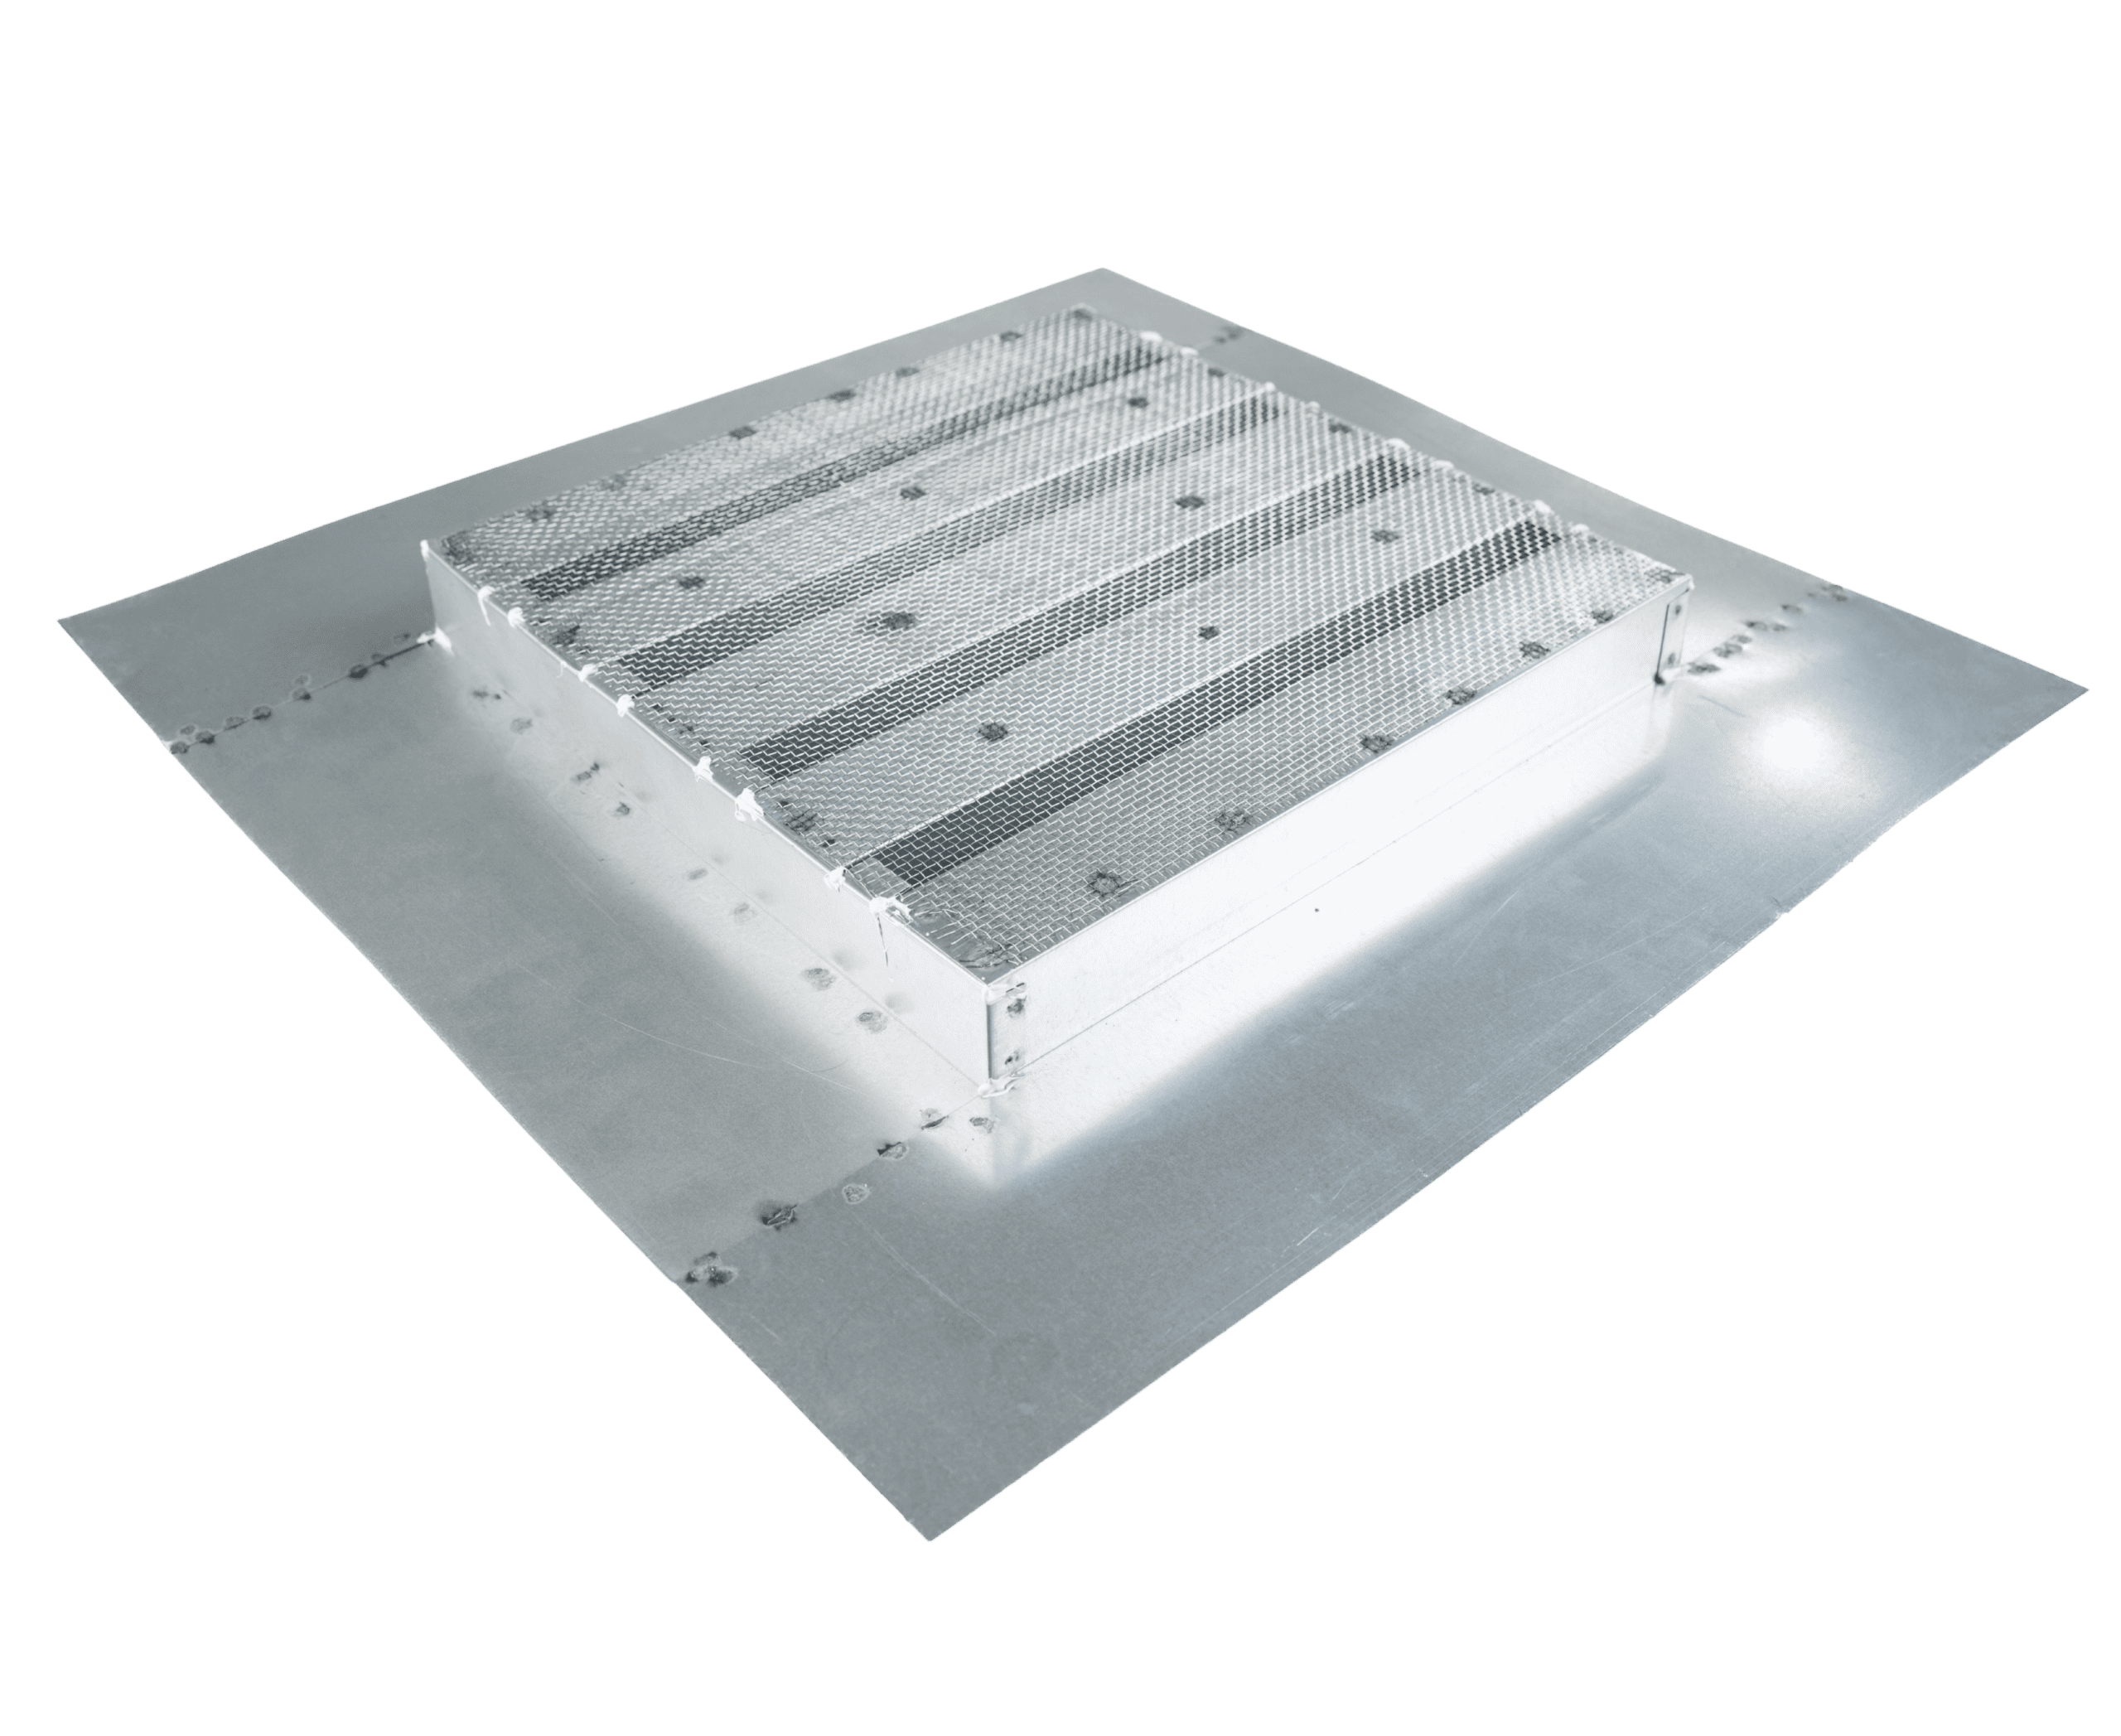
Under Eave Block Hole Vents
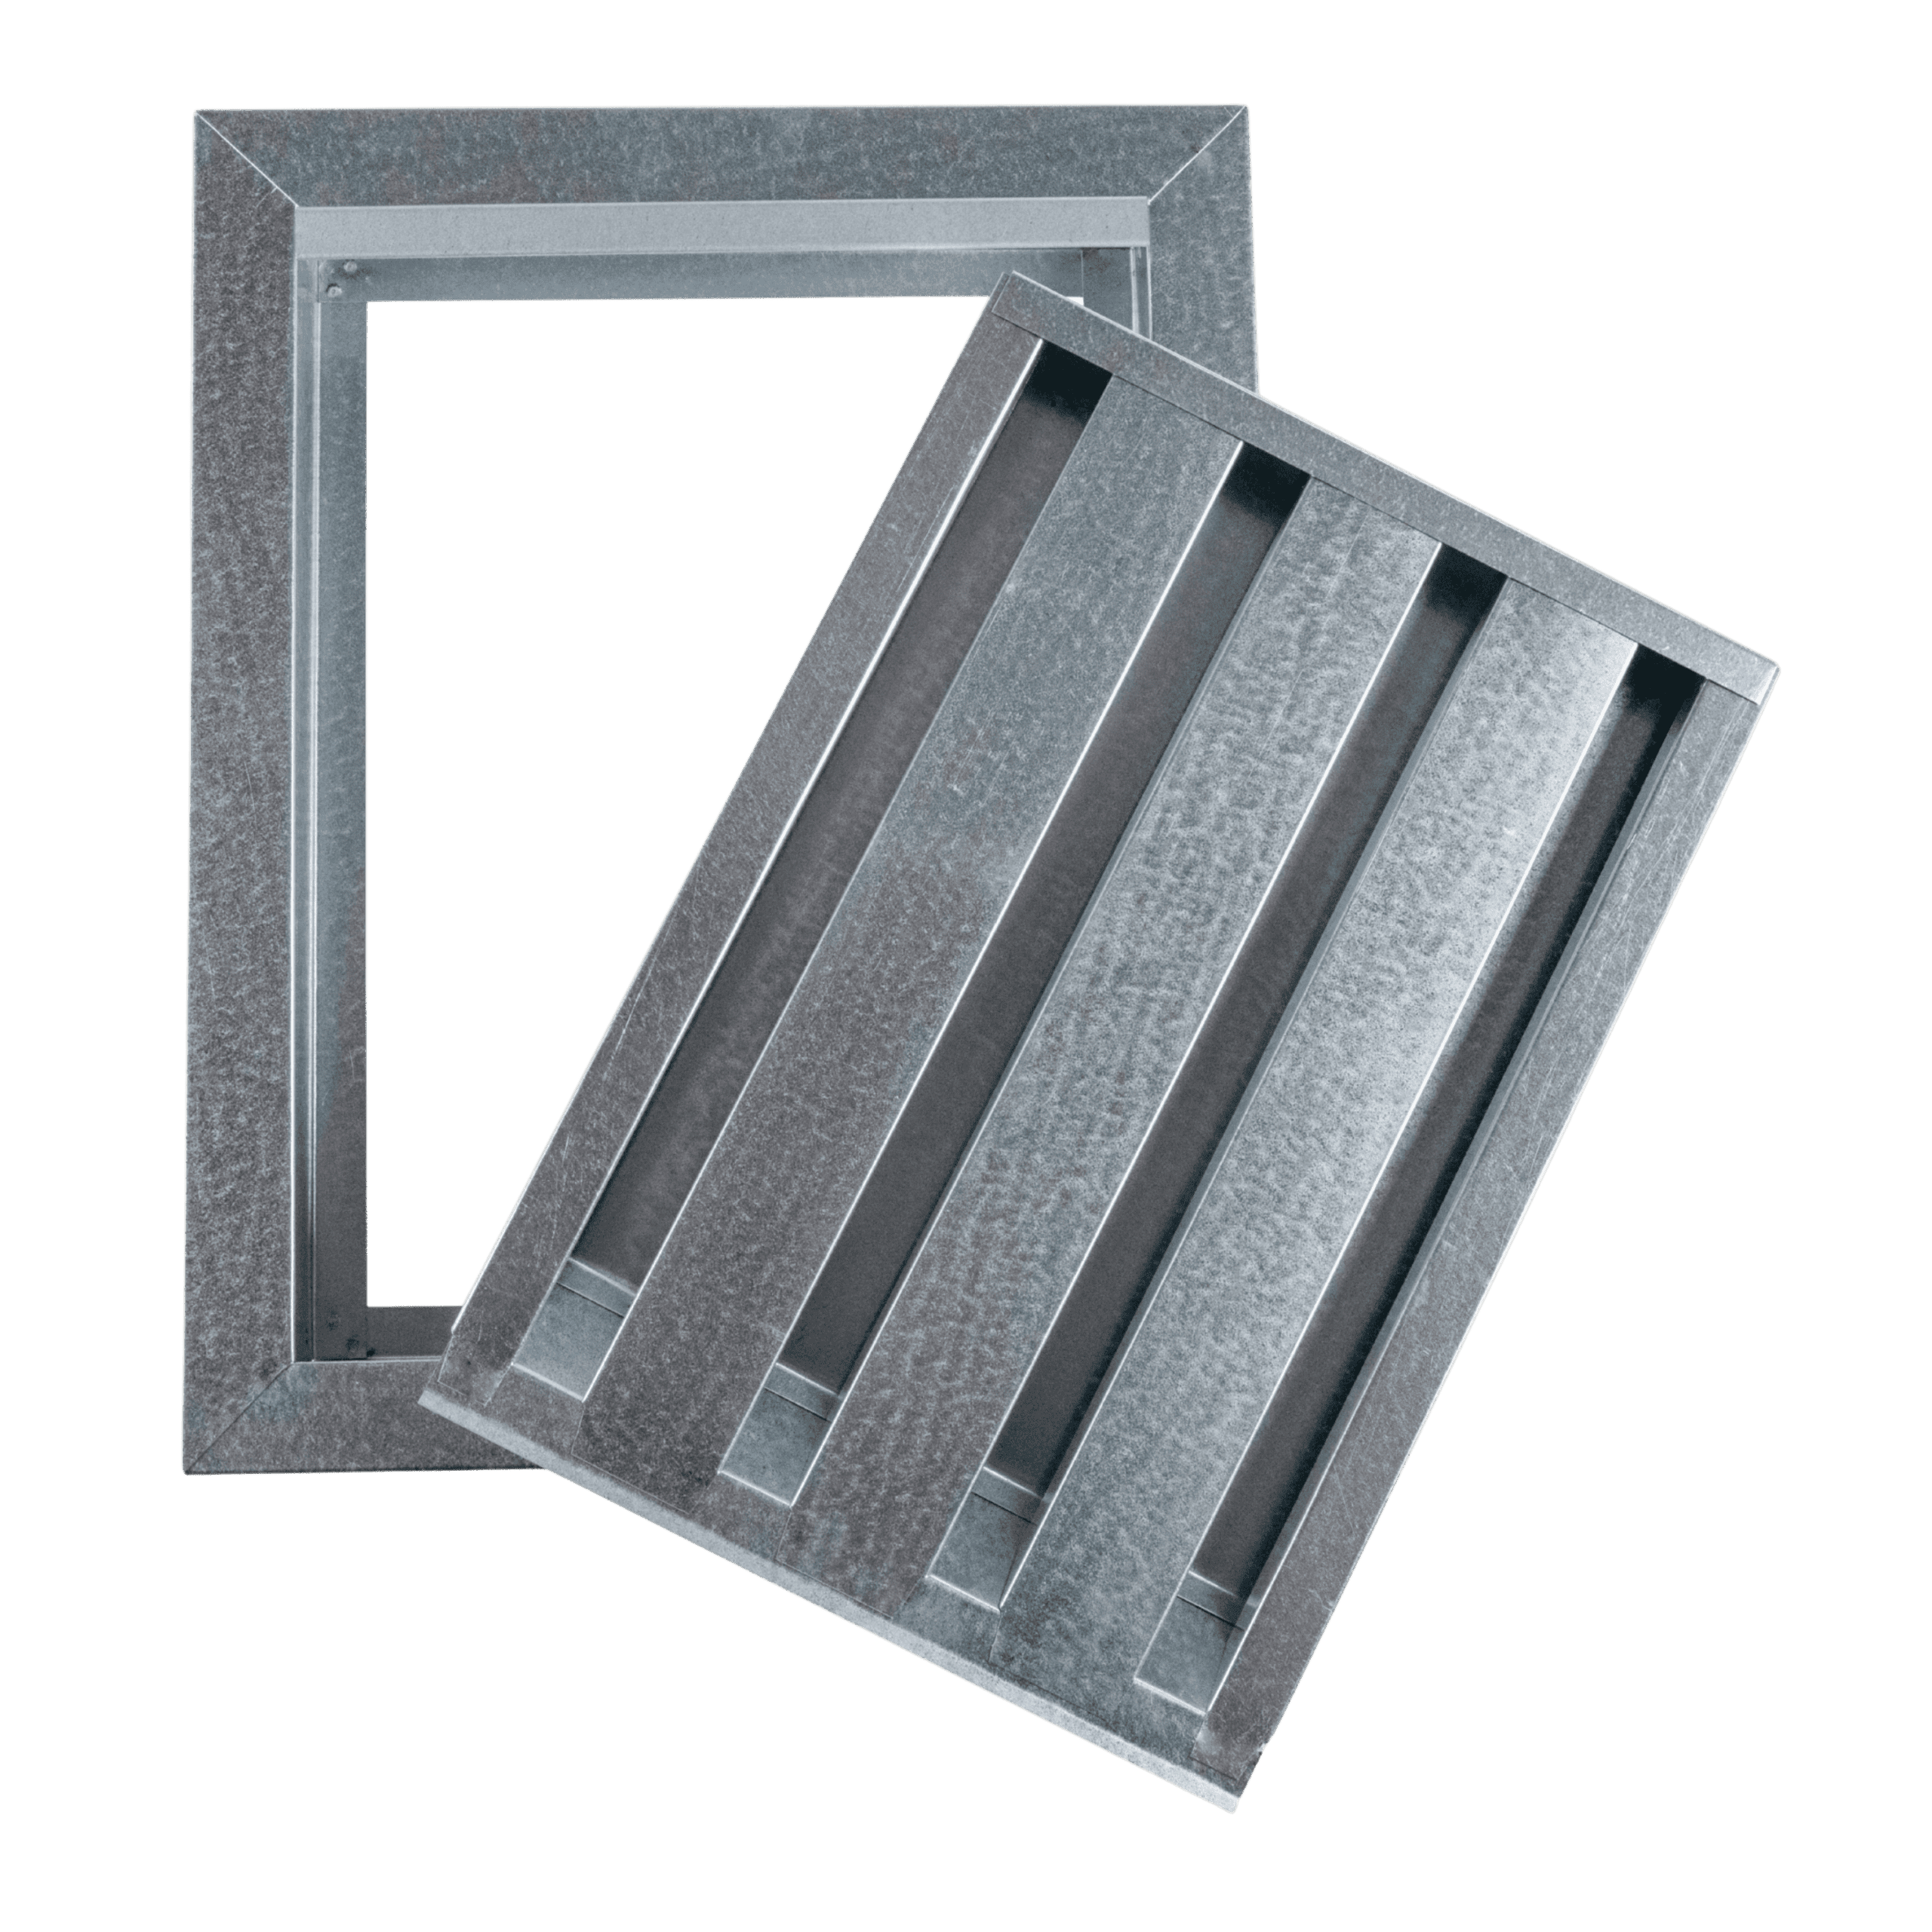
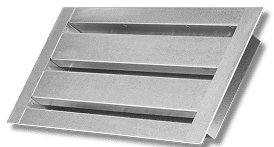
Gable Vents
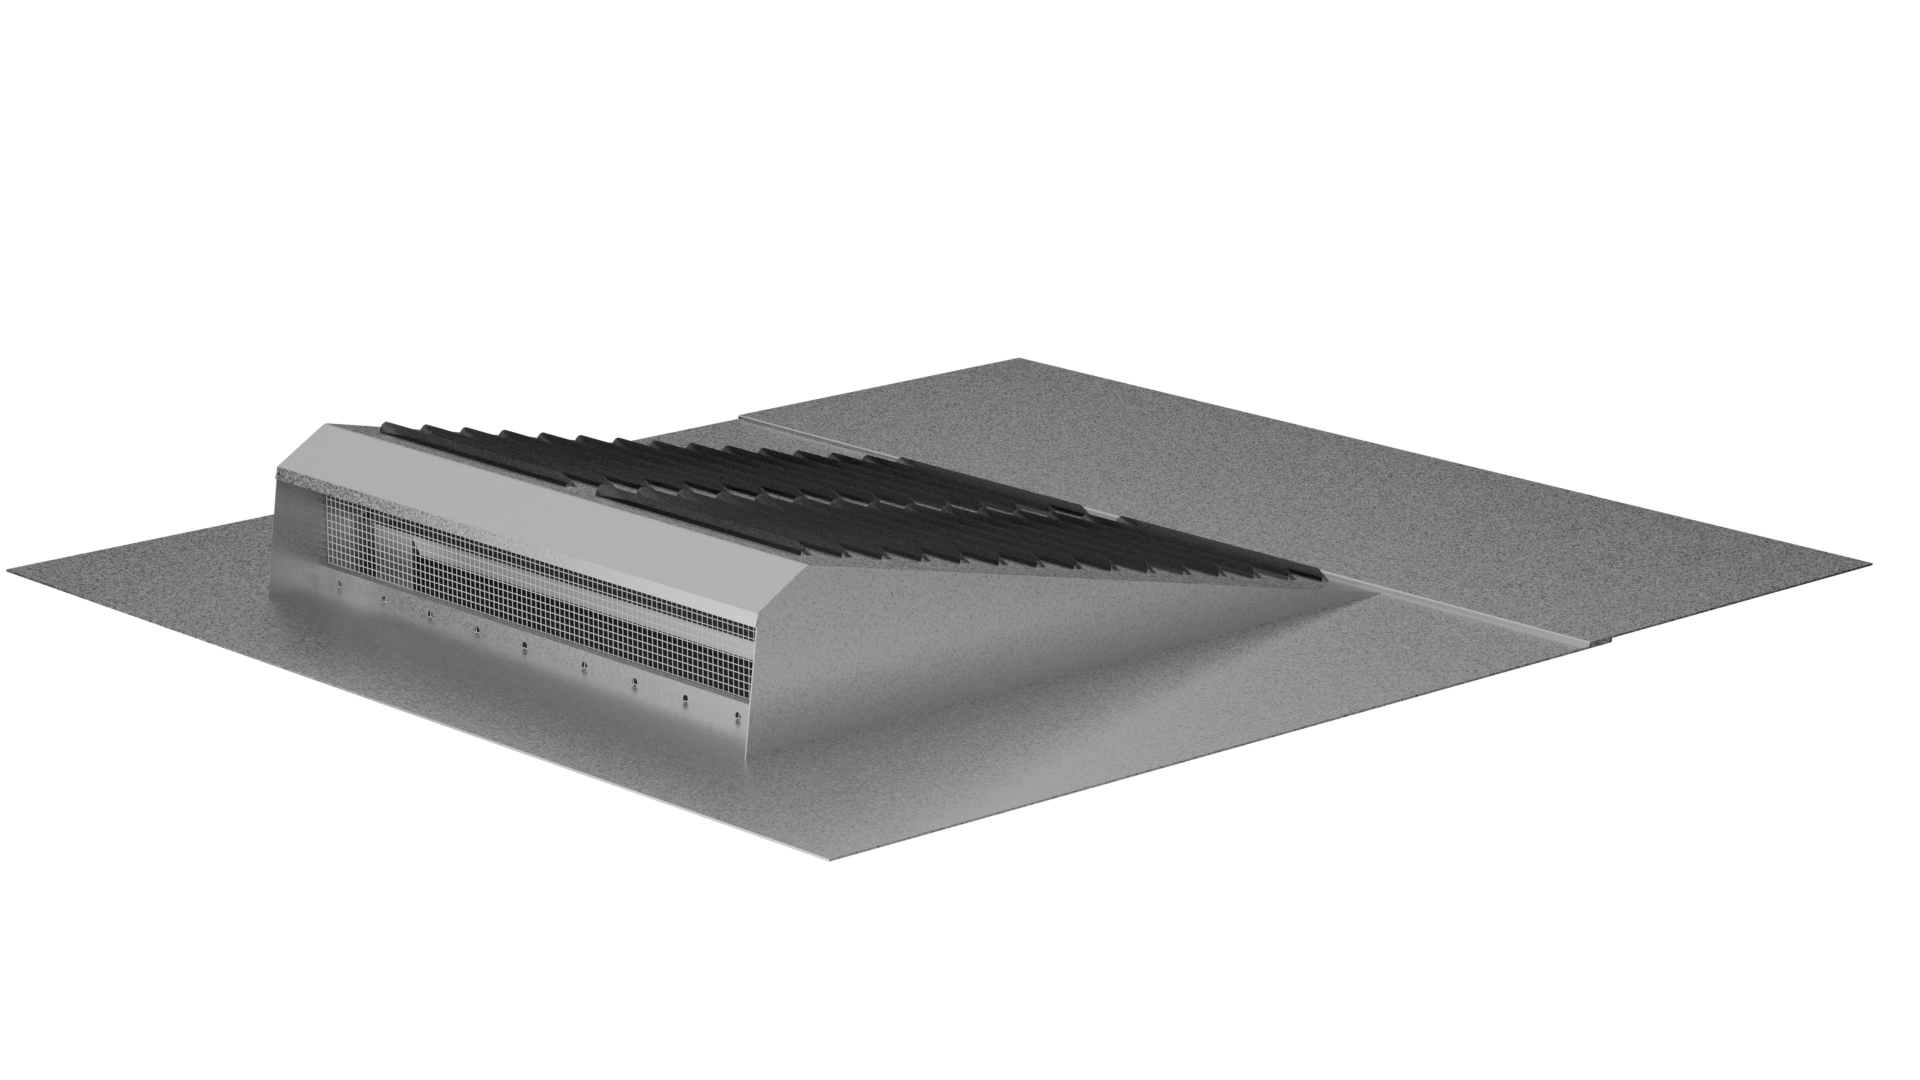
Dormer Vents
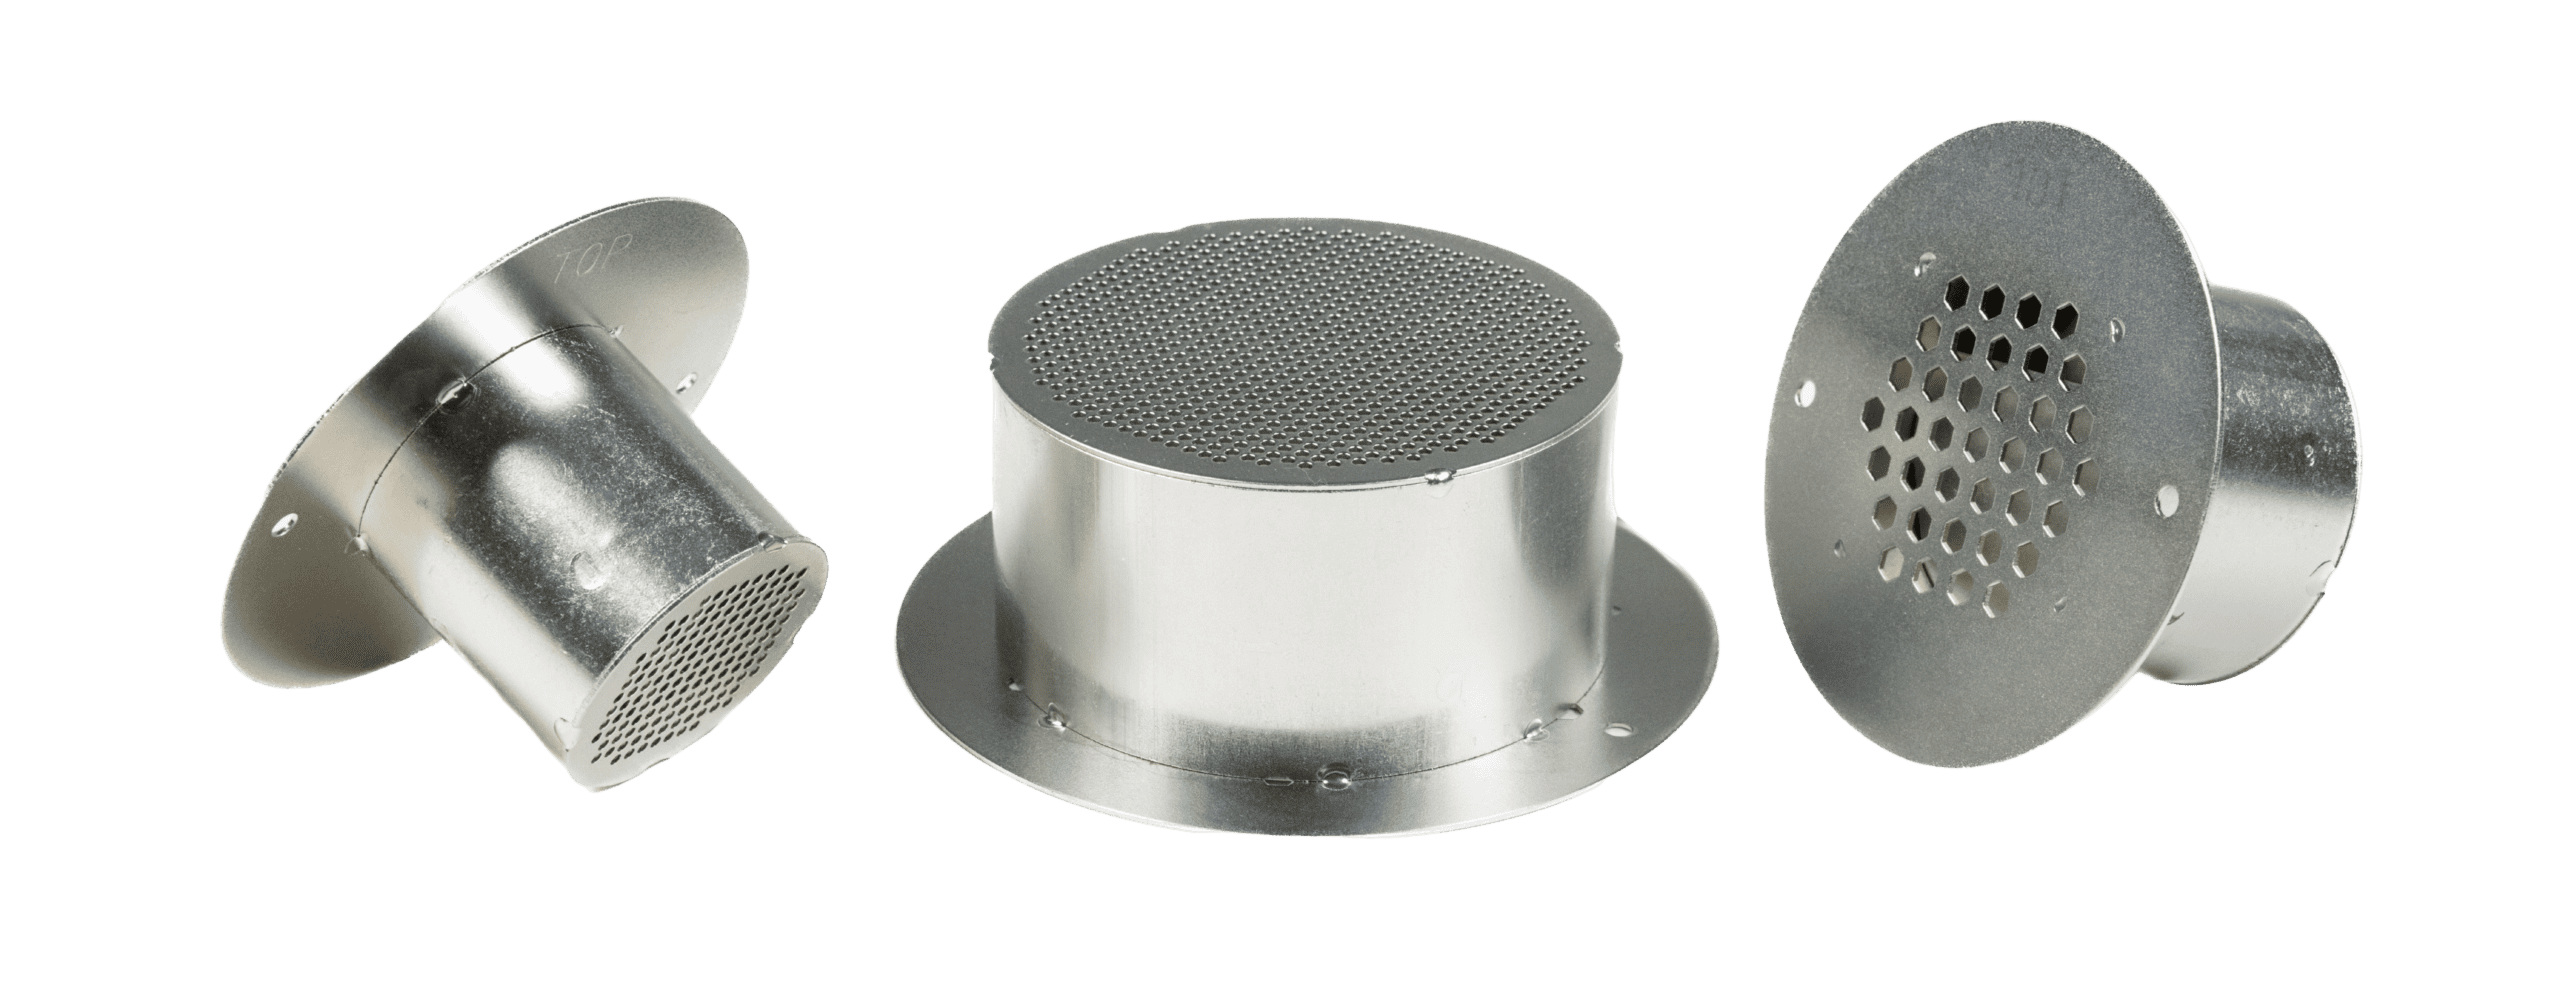
Foundation Vents
Balcony Inspection Vents
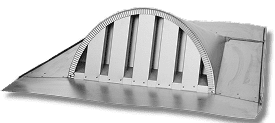
Sub-Base Flashing Roof Vents
Low Profile Glider Series
NEW PRODUCT!
GET STARTED
Not Sure Which Vent is Right
For Your Property?
Our expert team will be able to advise which vents will be the perfect fit for your space and even schedule you a free on-site estimate with one of our preferred, trusted contractors.
